A few notes...
I made these slippers in a USA 8 / UK 6.
I can't sew worth shit.
I had a three year old "helper" and still managed to knock a pair out in under 2 hours.
I also found this blog helpful.
Materials:
Thick Wool Felt (e.g. 4mm)
Heavy cotton thread (I used a matching thread because my sewing skillz are lacking in every way)
Needle with large eye
Sewing shears
Chalk
A pair of shoes in the size slipper you're making
Sheet of paper
Regular scissors
Marker
Method:
Make your template
I couldn't figure out how to modify Martha's template so I made my own by tracing a pair of shoes. I used Birkenstocks as they closely matched the shape of Martha's template and I generally like the look of them.

Draw the "T" on one side of your template. This is the opening of your slipper, so the "T" needs to be tall and wide enough to fit your foot comfortably. It's kind of a guessing game, but for my slippers (USA 8 / UK 6) the "T" was approx 6" tall and 1 3/4" wide.

Cut out your template. You can cut the "T" at this point, but I didn't as I wanted to keep the template from wobbling around.

Cut your cloth
Put the template on your felt and trace it with the chalk.
Cut out your felt around your chalk outline.


Sew the slipper
Fold your felt in half, matching up the outer sides.
Cut the "T" into your felt. (Follow your template for height and width of the "T".)

This is roughly what your new "T" opening should look like


- Keep your knot on the outside of the felt (see pics). You're going to be turning these inside out so the knot will end up on the inside, when finished.
- Be mindful of your stitches. Try to get them as even in size and space as possible.
Sew the heel
This is the part I couldn't get my head around when reading Martha's instructions, but don't worry - it is really pretty simple.
Take the bottom of the slipper and, where you've made your "T" cut, pinch those pieces together.

Start sewing from the top - again, be mindful of your knot; you're going to be turning this piece down in the finished slipper, so make sure your knot is on the inside this time. Sew horizontal stitches down the length of the heel. Stop when you're about 2/3 of the way down, leaving a hole at the bottom.


Turn your slipper inside out. This is pretty much how your finished piece is going to look.

To finish off the heel, take the bottom lip of the hole you've just left and fold it up. Trim the corners to get a rounded look. Now, while holding up the lip with one hand, sew it shut with the other. This whole bit is a little fiddly, but manageable.


Style it out
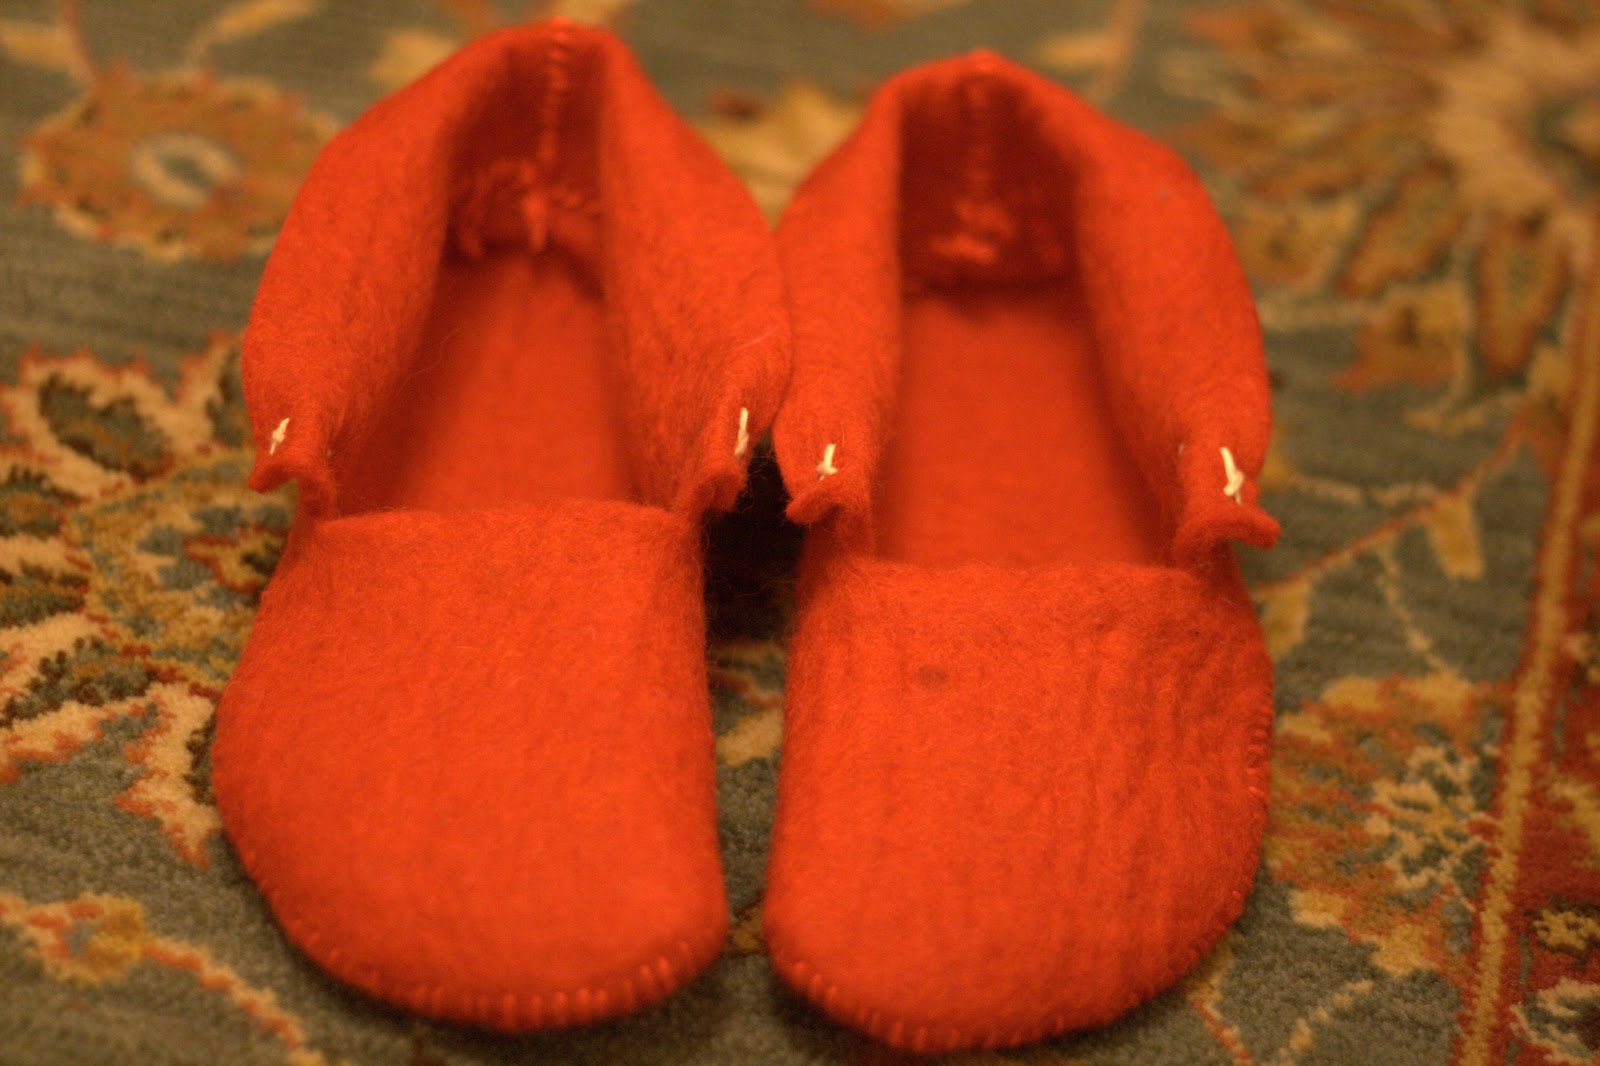
To finish, stitch down the edges of the top of your original "T" cut. I used a white "X" stitch, but obviously you can do whatever you want.
I've also read that these can be a little slippery, so I'm consider dotting something tacky (puffy paint? glue?) on the bottoms.

Repeat
Now do it all over again for the other slipper.
Remember to make your "T" cut in the opposite side to whichever slipper you've just done. Also remember that you'll be turning the slipper inside out, so BE SURE that you're cutting the "T" in the right side. (I made the mistake so you don't have to.)
Ready to go!
(No, the slippers weren't designed to fit my son, but they look better on a model than just sitting cold and alone on my rug.)

Cute! Love the details. Move over Martha!
ReplyDeleteCrocs better watch out...there is a new awesome piece of footwear in town
ReplyDeleteFrom now personal experience, they are very comfy and cute!
ReplyDeleteLooks very nice. Love your explanations, great job!
ReplyDelete